Tuesday, September 20, 2016

Bracelet/Anklet Origami

This bracelet/anklet origami can be used as a gift to your friend or as your accessory in a color-themed activity like dancing.
Bracelet and Anklet Origami @ easyartworks.blospot.com

Materials needed:
  • Colored paper (2pcs. different color)
  • Scissors
  • Ruler (optional)
  • Pencil (optional)
Steps:

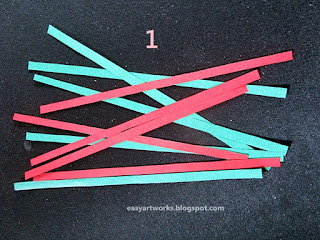
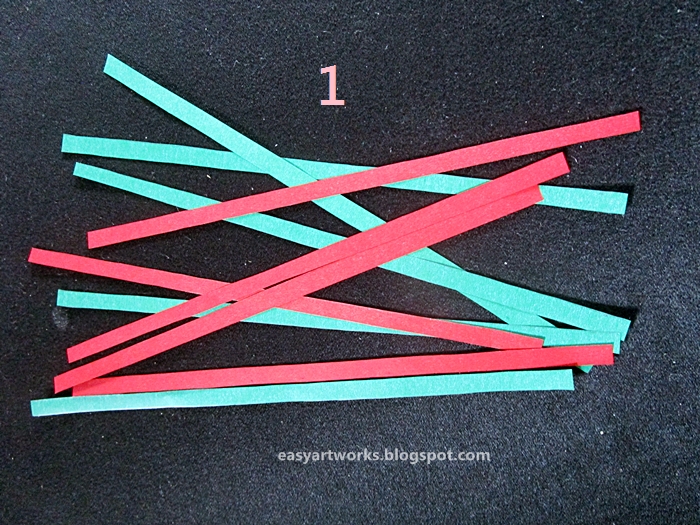
1. Cut the two colored paper into a strips with same size. The width of this strips is 0.25 inch.

2. Paste both one end of the strip wherein one color is on the top (green) while the other is on below (red).

3. Fold the red strip on the top of green strip; then fold the green strip on the top of red strip. This is an alternate folding of the two strips. Repeat this until you reach the other end of strips.

This should be the outcome of your folded strips.

4. If you reached the end of strips but the size is still smaller for you, paste/add another strips on the end of your first strip then continue folding it alternately.

5. When the size is enough for your bracelet/anklet, paste both end of strips to lock it.

You can now use your DIY paper bracelet/anklet.
Bracelet and Anklet Origami @ easyartworks.blospot.com

Monday, September 12, 2016

Christmas Card

“The best of all gifts around any Christmas tree is the presence of a happy family all wrapped up in each other.” -Burton Hills
Christmas Card @ easyartworks.blospot.com

Materials needed:
  • Red-Colored Paper (half crosswise of a bond paper)
  • Colored Paper (yellow)
  • White paper
  • Scissors
  • Glue
  • Pencil
  • Marker
Steps:

1. Fold the red paper into two to become a card.

2. Let us start decorating the inside of the card where you can write your message. Get the white paper and cut a half size of red paper. Put a design on the edges of the paper to make it smaller then paste it inside the card.

3. Make a 3D Christmas tree. Put a glue on its one side then paste it in front of your card.

4. Cut a small star on the yellow paper then paste it on the top of Christmas tree.

5. On the white paper, cut a small circles which will be the snow. Paste it around the tree.
TIP: Use puncher to make a small circles.

Lastly, put a greetings like "Merry Christmas", "Happy Holidays" below the Christmas tree.
Christmas Card @ easyartworks.blospot.com

Sunday, September 11, 2016

3D Christmas Tree Origami

3D Christmas Tree Origami @ easyartworks.blospot.com

Materials needed:
  • Colored paper (square)
  • Scissors
Steps:

1. Make 8 creases by folding the paper into a triangle three times (3x).

2. Turn around the paper to have a diamond shape. Fold both left and right corners inward while flattened the top part to make a folded diamond shape.

3. Fold both top left and right sides toward the center crease.

4. Flip back the paper then repeat step 3.

5. Cut off the lower part of the paper as shown below.

6. Open one flap of the paper then flattened it as shown in the below picture.

7. Repeat step 6 on the remaining three flaps and you will have a triangle with 8 flaps.

8. Cut a small part alternately on both sides of the triangle (see picture below).

9. Fold the top right corner of each cutted part diagonally to shape the tree.

Fix the fold of the paper to make it a Christmas Tree. You may decorate it like putting small circle on it as a Christmas ball.
3D Christmas Tree Origami @ easyartworks.blospot.com